Reverse Sear on the Kettle: Steak Like a Steakhouse
Reverse sear steak on a Weber kettle gives thick rib eye better crust and more even doneness, but it only pays off with time and a thermometer.
The first bad steak of summer tends to go bad with an audience. The kettle is roaring, the outside of the rib eye looks ready for the pub plate, the middle still feels soft under the tongs, and everyone on the patio is pretending not to watch you panic-cut the thing early. Reverse sear is backyard damage control for that moment. It keeps you calm when a good steak cost enough to make you pay attention.
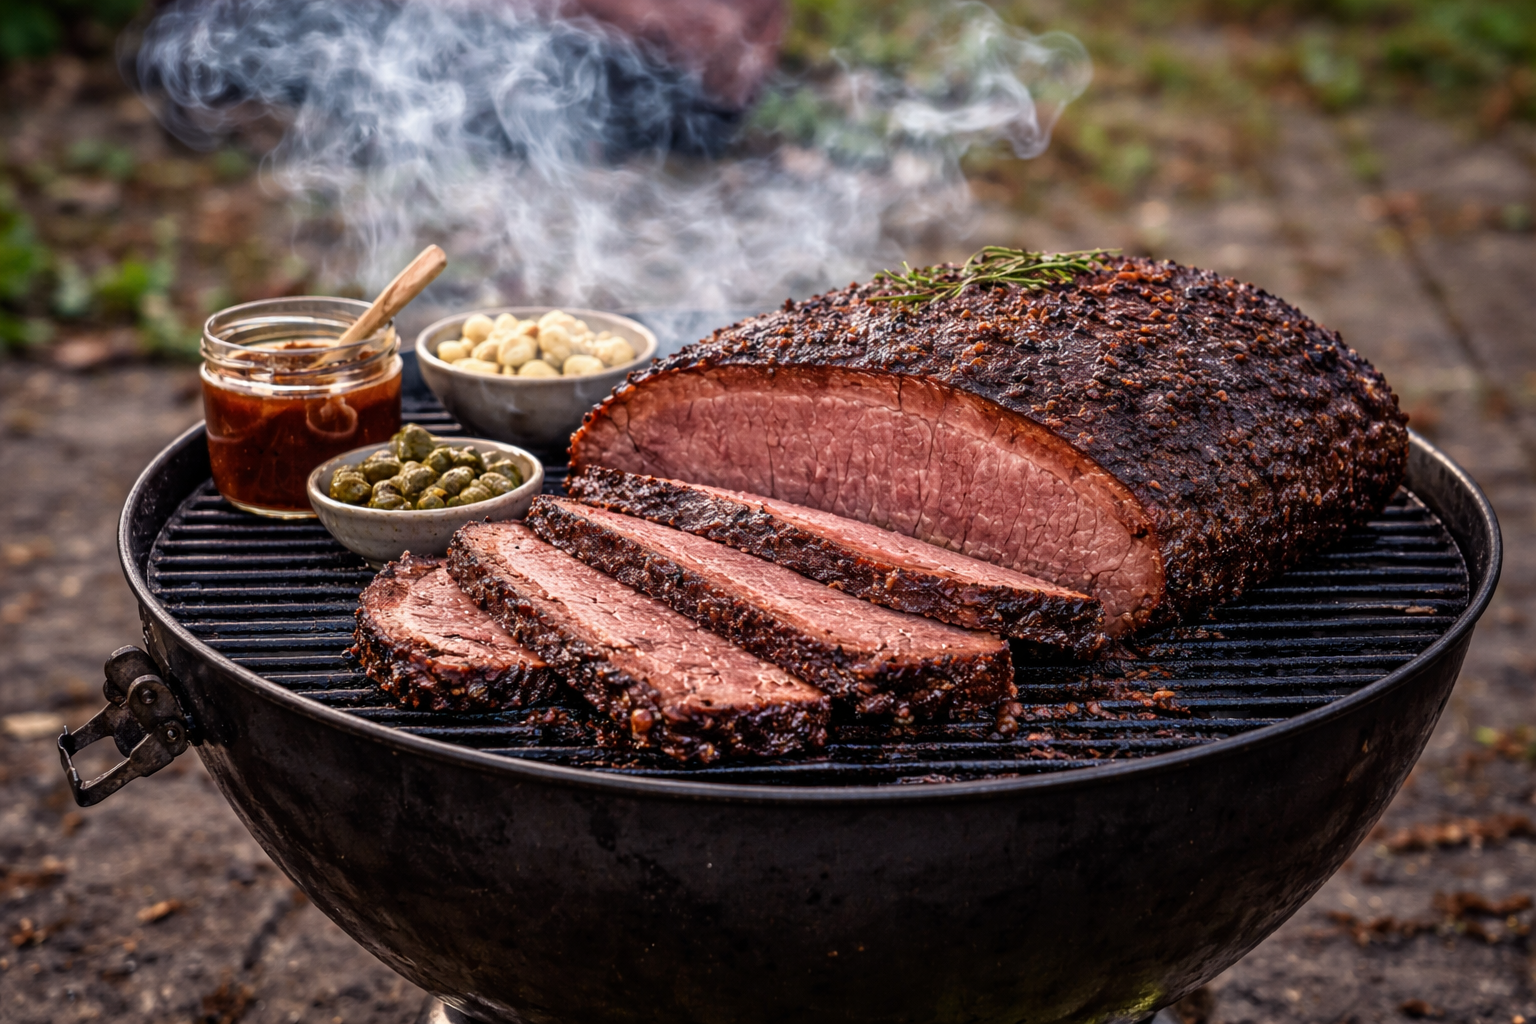
If the aim is steakhouse crust with a properly pink centre, Weber’s reverse-seared rib eye method is a tidy bit of backyard engineering. The steak starts away from the coals in a 110°C to 130°C kettle, then gets shoved over fierce heat at the end. Weber’s timing for a 5 cm bone-in rib eye is about 40 minutes before the sear, with the steak pulled at 44°C if you want a 54°C medium-rare finish. Slower, yes. Also less likely to turn a butcher’s-window rib eye into an expensive apology.
J. Kenji López-Alt’s reverse-sear case for Serious Eats comes at the same method from the cook’s side rather than the barbecue-brand side. His argument is plain: thick steaks get the real benefit. That matters because plenty of us hear “reverse sear” and try it on whatever thin supermarket steak is already in the fridge. The method cops the blame when the cut was wrong from the start.
Why thick steak is where reverse sear earns its keep
Reverse sear works when the steak is thick enough for the centre and the crust to need different treatment. On a chunky rib eye, scotch fillet or porterhouse, the slow first stage dries the surface a little, warms the interior more evenly, and turns the final sear into a crust job rather than a rescue mission.

Serious Eats puts it bluntly:
“One of the best methods for steak: start it low, cook it slow, then quickly sear or grill for a beautiful crust.”
J. Kenji López-Alt, Serious Eats
The useful number is sitting in Weber’s own recipe. It specifies a 5 cm rib eye, proper butcher-counter stuff, not the skinny Tuesday-night steak you grab because dinner is already late. Robins Kitchen’s guide lands near the same mark, saying the technique suits steaks around 3.5 to 4 cm thick. Different kitchens, same warning: use it on a thick cut.
The reason is not mysterious. A thick steak gives you room to split the cook into two jobs. You bring the centre up gently without torching the outside, then hit the surface once the inside is nearly there. Thin steaks do not give you that gap. By the time the outside has colour, the middle is already on the edge.
The kettle only needs to do two jobs, and both are simple
Laura Romeo’s Weber version does not ask for mystical kettle mastery. It asks for temperature discipline. Gentle indirect heat first. Hard direct heat later. Almost annoying news, really, for anyone who has spent years making charcoal cooking sound more complicated than it needs to be.

In Weber’s Australian recipe page, Romeo says:
“This is the ultimate cooking method for thick steaks.”
Laura Romeo, Weber AU
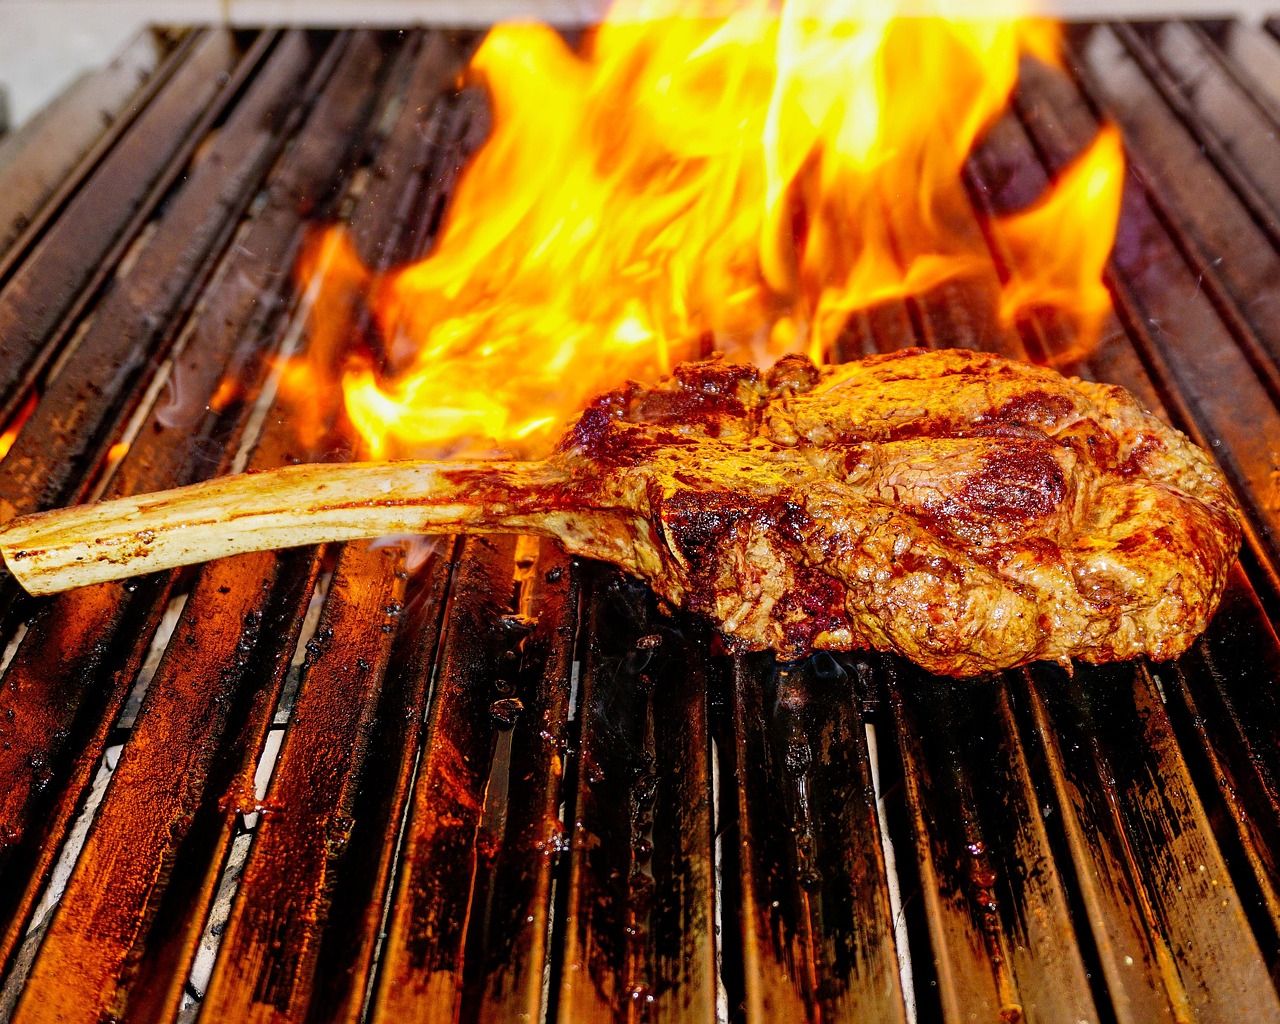
The numbers are more useful than the boast. Weber calls for the low stage at 110°C to 130°C, then moving the steak off once its core hits 44°C if medium-rare is the target. After a short rest, the grill goes properly hot, around 250°C to 290°C, and the steak gets about 90 seconds a side over direct heat. That is why the cook feels calmer. By the time the meat meets the big heat, the inside is not a guess anymore.
Weber’s version is also mercifully light on theatre. No sermon about baskets, gadgets, pellets or sacred charcoal rituals. Indirect first, direct later. For most of us, the danger is losing patience and chasing colour too early.
Buy the thermometer before you buy more barbecue gear
This is where the home-cook bit bites. Plenty of us would rather solve a barbecue problem with another purchase: a new grate, a new pan, another black-coated bit of stainless with a heroic product name. The boring answer is cheaper. Buy a thermometer before you buy more barbecue jewellery.

Robins Kitchen’s home-cook guide has the line kettle owners need to hear:
“It’s in the technique that gives the best results not the equipment.”
Robins Kitchen
Cheeky, but right. Reverse sear depends on knowing when the centre has reached the hand-off point. Weber says 44°C before the final sear for a 54°C finish. Serious Eats works on the same logic. Without an instant-read thermometer, you are back to poking, guessing and slicing, which is the exact mess this method is meant to avoid.
So if the choice is thermometer or grill pan, take the thermometer. Every time. A grill pan makes stripes. A thermometer tells you when to move, when to rest and when to stop fiddling. One makes the steak look tidy. The other stops you ruining it.
There is a tiny ego bruise in that for charcoal tragics. We like to think the kettle is the star, or that feel for the fire is enough. Reverse sear is humbling because it turns the grill into a heat source and the thermometer into the decision-maker. Not romantic. Useful, though.
The method travels well, but the trade-off is time
The same idea shows up in Barbecue Bible’s gas-grill version, which is handy because it proves the method is not chained to one exact barbecue. Their version keeps the low-then-high sequence and treats smoke as a bonus rather than the whole show.
For a kettle owner, that is reassuring. You are not joining a cult. You are learning an order of operations: gentle heat to build the middle, hard heat to finish the outside. If you can create those two zones, on charcoal or gas, the logic still holds.
Time is the bill. Reverse sear is not faster. Weber’s method takes about 40 minutes for the low stage on a thick rib eye before the finishing blast. That makes it a weekend move, or at least a “dinner is planned properly” move, not a rescue job when the kids are already orbiting the kitchen. The upside is margin. You pay in time so the sear does not have to do everything at once.
That is why reverse sear feels more steakhouse than show-off. In a restaurant, repeatability is the game. At home, the same logic helps: get the doneness under control, then put the crust on deliberately. No fireworks required. Just a better chance of not wrecking an expensive piece of beef.
Where home cooks usually muck it up
The usual failures are boring, which is good because boring failures are fixable. The steak is too thin. The cook gets nervous and goes hot too early. Or the final sear turns into a second cook instead of a sharp finish. Weber’s 90 seconds per side is the clue. Once the centre is nearly done, the last stage should be quick and violent.
Another miss is treating the numbers as decoration. They are the method. If Weber says pull around 44°C for a 54°C medium-rare finish, that 10-degree gap allows for the sear and the carryover. Ignore it and reverse sear becomes a hot-cold-hot backyard fumble with a nicer name.
There is also a social advantage here, and it is not nothing. Reverse sear suits the barbecue night where the cook wants to talk, pour a drink and keep dinner moving without wearing the stress like a flu. The slow stage gives you time to sort sides, slice bread, tell everyone dinner is on track, and only then do the loud high-heat bit.
Plain bloke’s verdict: reverse sear on a kettle is worth stealing from the steakhouses if the steak is properly thick and you own a thermometer. If the steak is thin, or dinner needs to happen in 12 minutes, skip the ceremony and cook hot and fast. The clever part is not calling every steak a reverse-sear job. It is knowing when the method is actually buying you something.
The DudeWorld brief
BBQ, tools, camping and footy — the good stuff, weekly in your inbox.
Subscribe