|
|
|
|
|
|
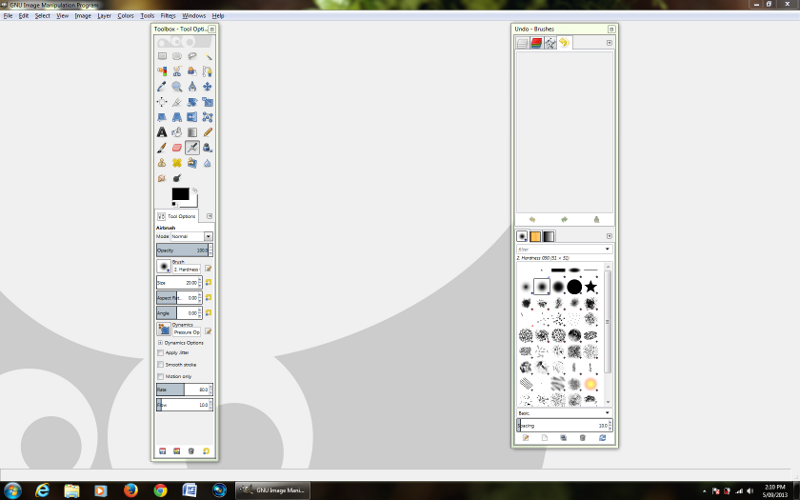
A GUIDE TO INSTALLING GIMP GRAPHICS EDITOR To progress from an average photographer to a good one you are going to need a powerful graphics editor. The only two choices right now are Adobe Photoshop ($1500) or Gimp (Free). To get you started and keep costs down we will focus on Gimp for the moment as it is every bit as powerful as Photoshop and will cost you nothing to use. How can a free program compete with an industry powerhouse ? Well, Gimp is open source, stable and mature. It runs on Windows, Mac and Linux and has been constantly upgraded for the last decade or so. Gimp was written by a talented bunch of programmers with the sole aim of making a kick ass graphics editor that was available to everyone.
Lets get started. Click This Link (opens in a new tab) and head over to gimp.org to download the program, be sure to expand the "show other downloads" link on the page. Choose "Installer for Windows XP SP3 or later" and you will be redirected to the sourceforge download page. Just wait a few seconds and your download will start automatically. The file size is 86Mb so depending on your connection speed you might like to go and grab an ice cold beer or bourbon while you wait.
Rock on back to the menu page to see how easy it is to use this awesome software.
|

Enjoy this article ? The site ? Would you buy me a beer for my efforts?


|

|

|